
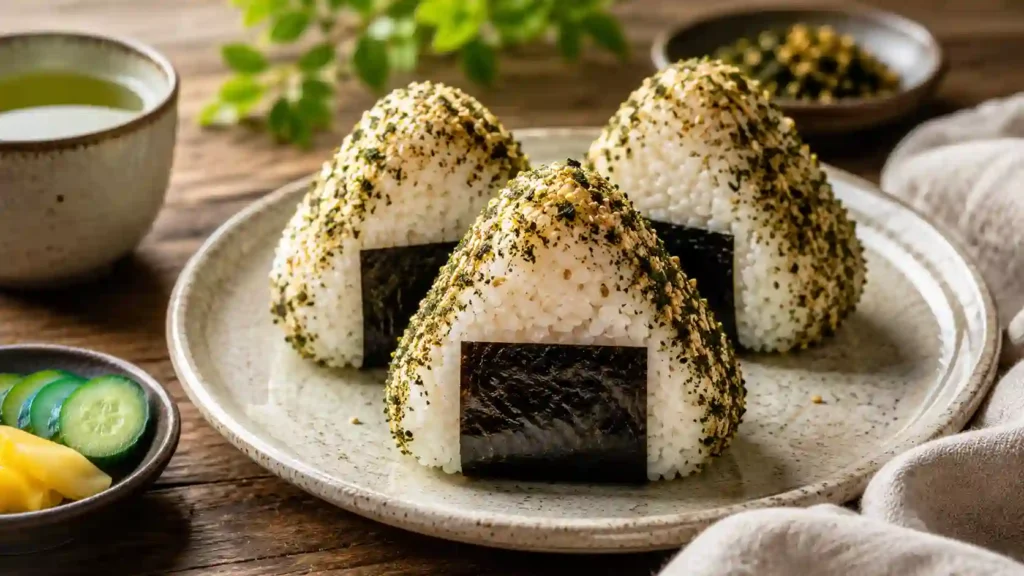
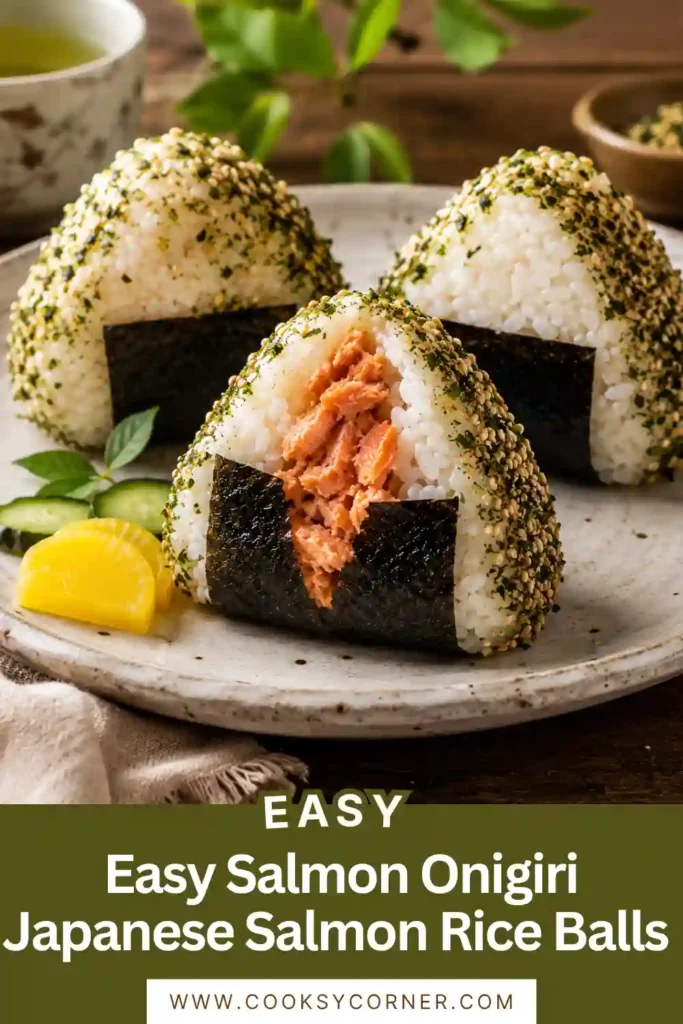
If you’re looking for a quick, satisfying, and authentic Japanese snack, this Easy Salmon Onigiri (Japanese Salmon Rice Balls) recipe is a must-try. Made with fluffy short-grain rice, a creamy seasoned salmon filling, and wrapped in crisp nori, these handheld rice balls are perfect for lunch, meal prep, picnics, or a light dinner. With just a few simple ingredients and an onigiri mold, you can recreate this popular Japanese convenience store favorite right at home.
Why You’ll Love This Recipe
These Easy Salmon Onigiri are incredibly simple to prepare and packed with savory umami flavor. The creamy salmon filling pairs perfectly with warm sticky rice, while the crispy nori adds the signature texture that makes onigiri so irresistible. Whether you’re making them for school lunches, road trips, or a quick afternoon snack, they’re delicious, portable, and easy to customize.
Highlights
- Ready in under 30 minutes
- Authentic Japanese flavors
- Perfect for meal prep and lunch boxes
- Beginner-friendly recipe
- Uses simple pantry ingredients
- Portable and freezer-friendly
- Great for snacks or light meals
Ingredients
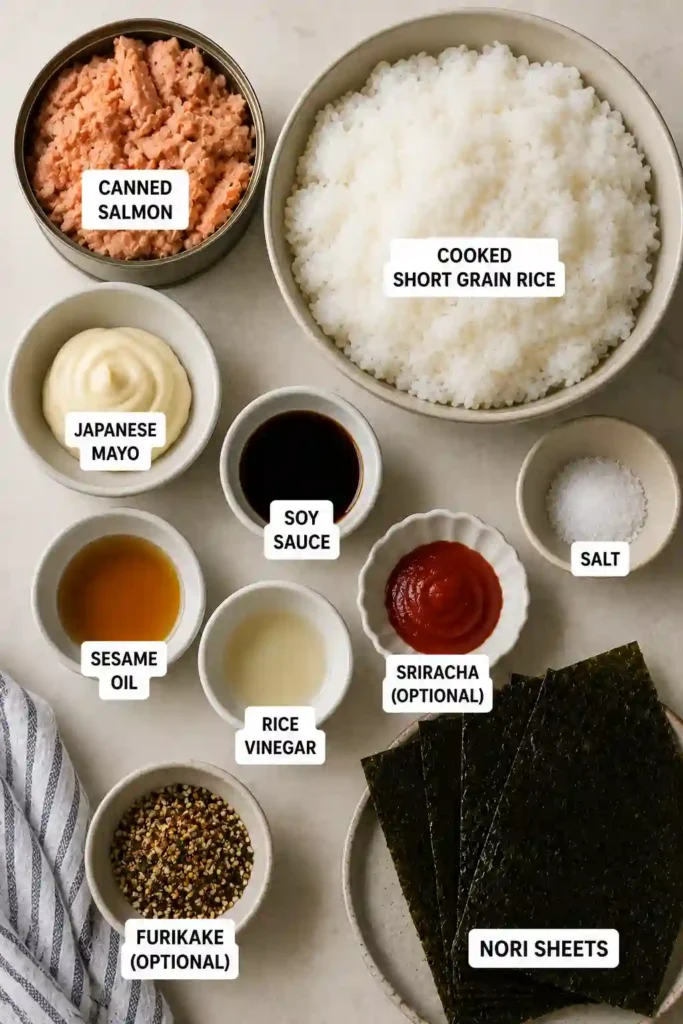
For the Salmon Filling
- 4 ounces canned or cooked salmon, drained and flaked
- 1½ tablespoons Japanese mayonnaise
- 1½ teaspoons soy sauce
- ½ teaspoon sesame oil
- ⅛ teaspoon rice vinegar
- ¾ teaspoon sriracha (optional)
For the Rice Balls
- 1½ cups freshly cooked Japanese short-grain rice
- Salt, for seasoning
- 3 nori sheets, cut into 4 x 1½-inch strips
- Furikake seasoning (optional)
Instructions
Step 1: Prepare the Salmon Filling
In a medium bowl, combine the flaked salmon, Japanese mayonnaise, soy sauce, sesame oil, rice vinegar, and sriracha if using.
Mix until the filling is creamy and evenly combined.
Set aside while preparing the rice.
Step 2: Prepare the Rice
Cook Japanese short-grain rice according to the package instructions.
Allow the rice to cool slightly until it’s warm enough to handle but still sticky.
Lightly wet your hands or the onigiri mold with water and sprinkle with a small pinch of salt to prevent sticking.
Step 3: Fill the Onigiri Mold
Add a thin layer of rice to the bottom of the mold.
Press gently to create an even base.
Place about 1½ tablespoons of the salmon mixture into the center.
Cover with additional rice until the filling is completely enclosed.
Press firmly with the mold lid until the rice is tightly packed.
Carefully release the shaped onigiri from the mold.
Step 4: Wrap with Nori
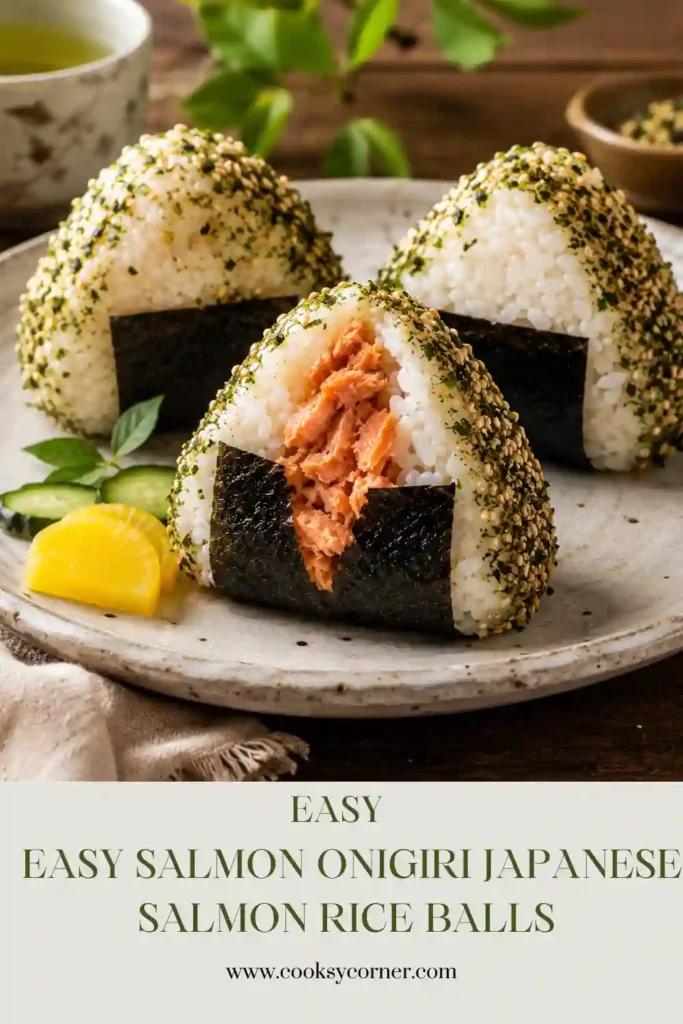
Wrap each rice ball with a strip of nori.
If desired, roll the exposed sides in furikake seasoning for extra flavor and texture.
Repeat with the remaining rice and salmon filling.
Serve immediately while the rice is still soft.
Tips & Tricks
- Use freshly cooked short-grain Japanese rice for the best texture.
- Wet your hands before handling the rice to prevent sticking.
- Press the rice firmly so the onigiri holds its shape.
- Do not overfill with salmon, or the rice balls may fall apart.
- Add avocado, pickled plum, tuna, or spicy salmon for delicious variations.
- Wrap the nori just before serving to keep it crisp.
- If making ahead, store the nori separately and assemble before eating.
Details
Prep Time: 15 minutes
Cook Time: 15 minutes
Total Time: 30 minutes
Yield: 4 onigiri
Category: Lunch
Method: No-Bake
Cuisine: Japanese
Difficulty: Easy
Dietary Notes:
- Dairy-Free (use dairy-free Japanese mayonnaise if needed)
- Nut-Free
- High Protein
Notes
- Fresh cooked salmon can be substituted for canned salmon.
- Brown rice may be used, although traditional onigiri is made with white short-grain rice.
- Add chopped green onions or toasted sesame seeds for additional flavor.
- Onigiri tastes best the day it’s is made.
Nutrition (Approximate Per Serving)
- Calories: 245
- Protein: 13g
- Carbohydrates: 29g
- Fat: 8g
- Fiber: 1g
- Sugar: 1g
- Sodium: 390mg
Frequently Asked Questions
What kind of rice is best for onigiri?
Japanese short-grain rice is essential because its sticky texture helps the rice balls hold their shape.
Can I use fresh salmon instead of canned salmon?
Absolutely. Flake cooked baked, grilled, or pan-seared salmon before mixing it with the seasonings.
Can I make onigiri without a mold?
Yes. Wet your hands with water, sprinkle them lightly with salt, and shape the rice into triangles by hand.
How long does homemade onigiri last?
For the best texture, enjoy within 24 hours. Refrigeration can make the rice firm, so allow it to return to room temperature before eating.
Can I freeze salmon onigiri?
Yes. Wrap each rice ball tightly in plastic wrap and freeze for up to one month. Add fresh nori after reheating.
What other fillings can I use?
Popular fillings include tuna mayonnaise, grilled salmon, teriyaki chicken, pickled plum (umeboshi), spicy tuna, shrimp, and seasoned vegetables.
Storage
Refrigerator
Store wrapped rice balls in an airtight container for up to 24 hours.
Freezer
Wrap each onigiri individually in plastic wrap and freeze for up to one month.
Reheating
Microwave for 30 to 60 seconds until warm, then wrap with fresh nori before serving.
Similar Recipes
Easy Salmon Onigiri (Japanese Salmon Rice Balls)
Ingredients
For the Salmon Filling
- 4 ounces canned or cooked salmon drained and flaked
- 1½ tablespoons Japanese mayonnaise
- 1½ teaspoons soy sauce
- ½ teaspoon sesame oil
- ⅛ teaspoon rice vinegar
- ¾ teaspoon sriracha optional
For the Rice Balls
- 1½ cups freshly cooked Japanese short-grain rice
- Salt for seasoning
- 3 nori sheets cut into 4 x 1½-inch strips
- Furikake seasoning optional
Instructions
- Step 1: Prepare the Salmon Filling
- In a medium bowl, combine the flaked salmon, Japanese mayonnaise, soy sauce, sesame oil, rice vinegar, and sriracha if using.
- Mix until the filling is creamy and evenly combined.
- Set aside while preparing the rice.
- Step 2: Prepare the Rice
- Cook Japanese short-grain rice according to the package instructions.
- Allow the rice to cool slightly until it’s warm enough to handle but still sticky.
- Lightly wet your hands or the onigiri mold with water and sprinkle with a small pinch of salt to prevent sticking.
- Step 3: Fill the Onigiri Mold
- Add a thin layer of rice to the bottom of the mold.
- Press gently to create an even base.
- Place about 1½ tablespoons of the salmon mixture into the center.
- Cover with additional rice until the filling is completely enclosed.
- Press firmly with the mold lid until the rice is tightly packed.
- Carefully release the shaped onigiri from the mold.
- Step 4: Wrap with Nori
- Wrap each rice ball with a strip of nori.
- If desired, roll the exposed sides in furikake seasoning for extra flavor and texture.
- Repeat with the remaining rice and salmon filling.
- Serve immediately while the rice is still soft.
Notes
- Fresh cooked salmon can be substituted for canned salmon.
- Brown rice may be used, although traditional onigiri is made with white short-grain rice.
- Add chopped green onions or toasted sesame seeds for additional flavor.
- Onigiri tastes best the day it’s is made.
Conclusion
These Easy Salmon Onigiri (Japanese Salmon Rice Balls) are a delicious way to enjoy authentic Japanese flavors at home. Filled with creamy seasoned salmon and wrapped in crisp nori, they’re simple to prepare, incredibly satisfying, and perfect for lunch, snacks, or meal prep. Once you make homemade onigiri, you’ll discover just how easy and versatile this classic Japanese comfort food can be.