
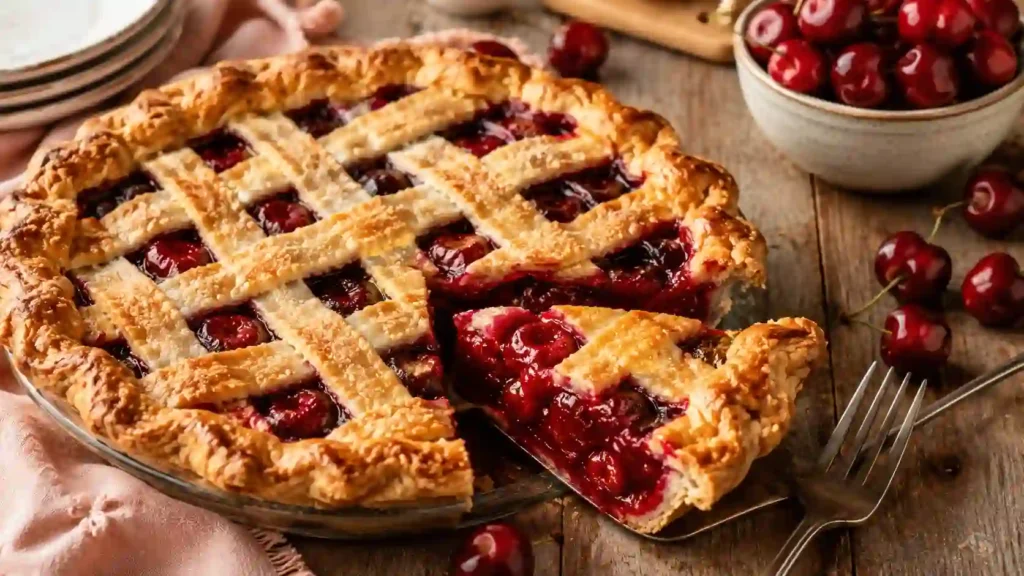
Homemade Cherry Pie With Thick Filling is the ultimate classic dessert for cherry lovers. Made with juicy fresh cherries, a buttery flaky crust, and a rich, perfectly thickened filling, this pie delivers the perfect balance of sweet and tart flavors in every slice. Whether you’re baking for a family gathering, holiday table, or weekend treat, this cherry pie is always a crowd-pleaser.
Why You’ll Love This Recipe
- Packed with fresh cherry flavor
- Thick filling that slices beautifully
- Flaky, buttery homemade crust
- Perfect balance of sweetness and tartness
- Great for holidays, celebrations, and family desserts
- Easy to prepare ahead of time
- Made with simple pantry ingredients
Ingredients
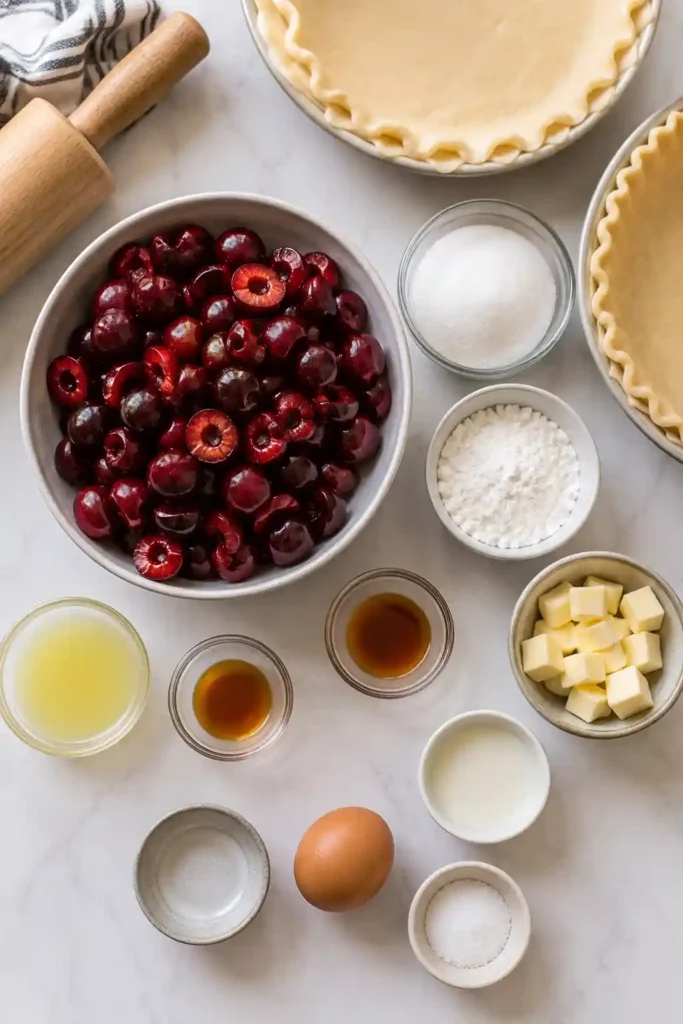
- 1 double homemade pie crust (top and bottom crust)
- 4½ cups halved and quartered fresh cherries, pitted
- ⅔ cup granulated sugar
- ¼ cup cornstarch
- 1 tablespoon lemon juice
- 1 teaspoon pure vanilla extract
- ¼ teaspoon almond extract
- 1 tablespoon cold unsalted butter, cubed
- 1 large egg
- 1 tablespoon milk
- Coarse sugar for topping (optional)
Instructions
- Prepare your pie crust according to your preferred recipe. Chill the dough for at least 2 hours.
- In a large mixing bowl, combine cherries, sugar, cornstarch, lemon juice, vanilla extract, and almond extract. Mix thoroughly and refrigerate while preparing the crust.
- Roll one chilled dough disc into a 12-inch circle and carefully place it into a 9-inch pie dish.
- Using a slotted spoon, transfer the cherry mixture into the pie crust, reserving any accumulated juice.
- Place the reserved juice into a small saucepan. Cook over low heat for 3–4 minutes until slightly reduced and thickened.
- Allow the reduced juice to cool for 5 minutes, then pour it over the cherries. Gently combine.
- Dot the filling with small cubes of butter.
- Refrigerate the pie while rolling out the second dough disc into another 12-inch circle.
- Cut the dough into strips and create a lattice crust over the filling.
- Trim excess dough and crimp the edges.
- Whisk together the egg and milk. Brush over the crust and sprinkle with coarse sugar if desired.
- Refrigerate the assembled Homemade Cherry Pie With Thick Filling for 20–30 minutes.
- Preheat oven to 400°F (204°C).
- Place the pie on a baking sheet and bake for 20 minutes.
- Reduce oven temperature to 375°F (190°C) and continue baking for 30–40 minutes until the crust is golden brown and the filling is bubbling.
- Cool on a wire rack for at least 3–4 hours before slicing and serving.
Tips & Tricks
- Use fresh, ripe cherries for the best flavor.
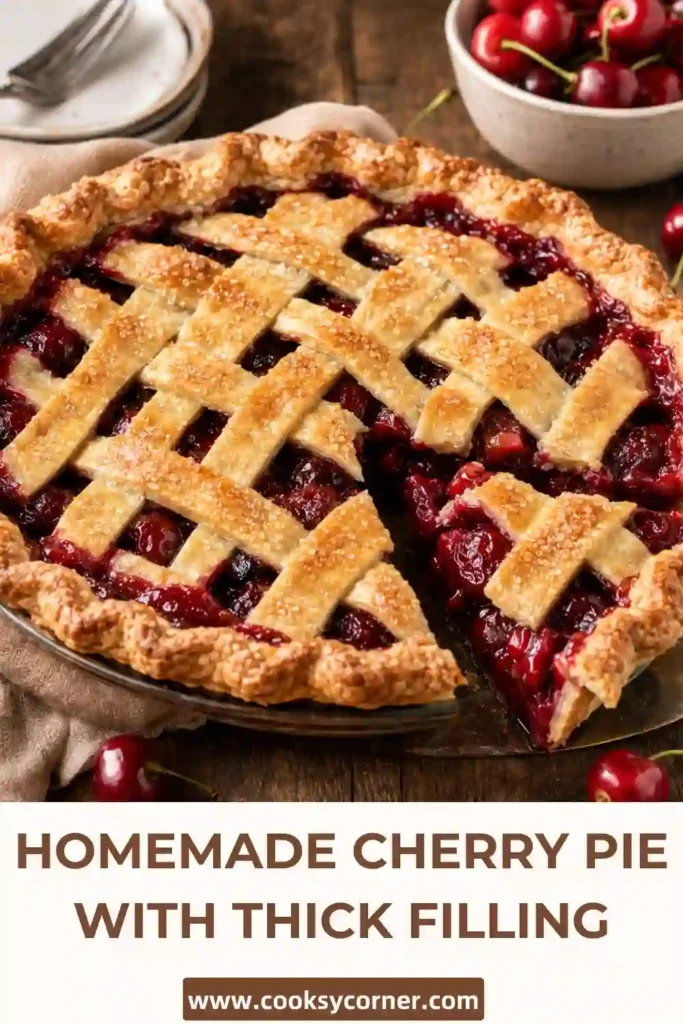
- Cornstarch helps create a thick cherry pie filling that won’t run when sliced.
- Chill the assembled pie before baking to help maintain the crust’s shape.
- Protect crust edges with a pie shield if browning too quickly.
- Frozen cherries may be substituted but should be thawed and drained first.
- Allow the pie to cool completely before cutting for clean slices.
Details
- Prep Time: 30 minutes
- Chill Time: 2 hours 30 minutes
- Cook Time: 50–60 minutes
- Total Time: About 4 hours
- Yield: 8 servings
- Category: Dessert
- Method: Baking
- Cuisine: American
- Difficulty: Intermediate
- Dietary Notes: Vegetarian

Notes
- Serve with vanilla ice cream or whipped cream.
- Add a pinch of cinnamon for extra warmth.
- Almond extract enhances the natural cherry flavor but can be omitted if preferred.
- The lattice top may be replaced with a full crust if desired.
Nutrition (Approximate Per Serving)
- Calories: 390
- Protein: 4g
- Carbohydrates: 56g
- Fat: 17g
- Fiber: 3g
- Sugar: 30g
FAQ
Why is my cherry pie filling runny?
Insufficient cooling time is usually the cause. Allow the pie to cool for at least 3–4 hours before slicing.
Can I use frozen cherries?
Yes. Thaw and drain them thoroughly before preparing the filling.
What makes this a thick cherry pie filling?
The combination of cornstarch and reducing the cherry juices creates a thicker consistency.
Can I make this pie ahead of time?
Yes. Bake the pie a day ahead and store it covered in the refrigerator.
How do I prevent a soggy bottom crust?
Use a properly preheated oven and avoid adding excess liquid to the filling.
Can I freeze baked cherry pie?
Yes. Wrap tightly and freeze for up to 3 months.
Storage
Refrigerator: Store covered in the refrigerator for up to 5 days.
Freezer: Wrap tightly with plastic wrap and foil and freeze for up to 3 months.
Reheating: Warm individual slices in a 300°F (150°C) oven for 10–15 minutes.

Similar Recipes
Homemade Cherry Pie With Thick Filling
Ingredients
- 1 double homemade pie crust top and bottom crust
- 4½ cups halved and quartered fresh cherries pitted
- ⅔ cup granulated sugar
- ¼ cup cornstarch
- 1 tablespoon lemon juice
- 1 teaspoon pure vanilla extract
- ¼ teaspoon almond extract
- 1 tablespoon cold unsalted butter cubed
- 1 large egg
- 1 tablespoon milk
- Coarse sugar for topping optional
Instructions
- Prepare your pie crust according to your preferred recipe. Chill the dough for at least 2 hours.
- In a large mixing bowl, combine cherries, sugar, cornstarch, lemon juice, vanilla extract, and almond extract. Mix thoroughly and refrigerate while preparing the crust.
- Roll one chilled dough disc into a 12-inch circle and carefully place it into a 9-inch pie dish.
- Using a slotted spoon, transfer the cherry mixture into the pie crust, reserving any accumulated juice.
- Place the reserved juice into a small saucepan. Cook over low heat for 3–4 minutes until slightly reduced and thickened.
- Allow the reduced juice to cool for 5 minutes, then pour it over the cherries. Gently combine.
- Dot the filling with small cubes of butter.
- Refrigerate the pie while rolling out the second dough disc into another 12-inch circle.
- Cut the dough into strips and create a lattice crust over the filling.
- Trim excess dough and crimp the edges.
- Whisk together the egg and milk. Brush over the crust and sprinkle with coarse sugar if desired.
- Refrigerate the assembled Homemade Cherry Pie With Thick Filling for 20–30 minutes.
- Preheat oven to 400°F (204°C).
- Place the pie on a baking sheet and bake for 20 minutes.
- Reduce oven temperature to 375°F (190°C) and continue baking for 30–40 minutes until the crust is golden brown and the filling is bubbling.
- Cool on a wire rack for at least 3–4 hours before slicing and serving.
Notes
- Serve with vanilla ice cream or whipped cream.
- Add a pinch of cinnamon for extra warmth.
- Almond extract enhances the natural cherry flavor but can be omitted if preferred.
- The lattice top may be replaced with a full crust if desired.
Conclusion
This Homemade Cherry Pie With Thick Filling combines a flaky crust with a rich, juicy cherry center that holds together beautifully in every slice. With simple ingredients and dependable results, it’s a timeless dessert that’s perfect for family gatherings, holidays, and special occasions. Once you try this thick cherry pie recipe, it may become your go-to homemade pie for years to come.